Getting Started
Get BackMark up and running in minutes. Follow this guide to install, configure, and create your first tasks.
Prerequisites
System Requirements:
- Node.js: Version 18.0.0 or higher
- npm: Version 8.0.0 or higher (comes with Node.js)
- Operating System: Linux, macOS, or Windows
Installation
Global Installation (Recommended)
Install BackMark globally to use it from anywhere:
Alternative: npx (No Installation)
Run BackMark without installing:
npx @grazulex/backmark initVerify Installation
Check that BackMark is properly installed:
backmark --helpQuick Start Guide
Step 1: Initialize Your Project
Navigate to your project directory and initialize BackMark:
This creates a backlog/ directory with the following structure:
backlog/
├── tasks/          # Task markdown files
├── templates/      # Custom task templates
├── config.yml      # Project configuration
└── .cache/         # Performance cache (auto-generated)
Step 2: Create Your First Task
Create a task using the interactive prompt or command-line options:
Create a task with full metadata:
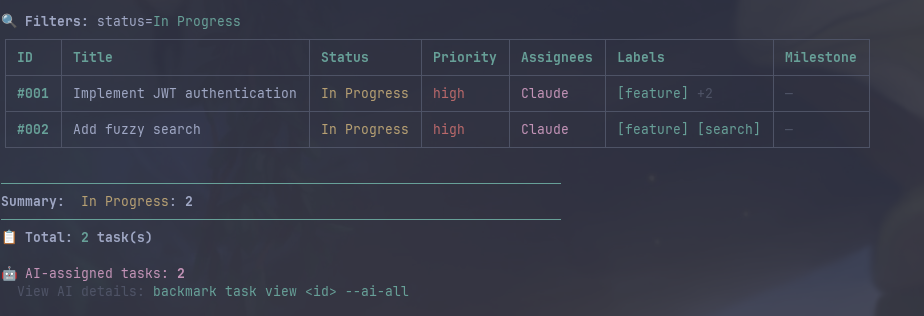
Step 3: View Your Tasks
List all tasks or view the Kanban board:

View the Kanban board:
💡 The board opens in full-screen interactive mode. Use arrow keys to navigate, Enter to view details, 'q' to quit.

Step 4: Update Task Status
Start working on a task by changing its status:
Step 5: AI Workflow (Optional)
If you're working with an AI assistant, use the AI workflow commands:
Learn more about the AI workflow in the AI Workflow section.
Step 6: Define Acceptance Criteria
Add acceptance criteria to define what "done" means for your task:
Check off criteria as you complete them:
Acceptance criteria are validated before closing a task. Learn more in the AI Workflow section.
Common Commands
Task Management
# Create task
backmark task create "Title"

# List tasks
backmark task list

# View task details
backmark task view 1

# Edit task
backmark task edit 1 --status "Done"

# Delete task
backmark task delete 1
Board & Search
# Show Kanban board
backmark board show

# Watch mode (auto-refresh)
backmark board show --watch

# Search tasks
backmark search "authentication"

# Project overview
backmark overview
Filtering
# Filter by status
backmark task list --status "In Progress"

# Filter by priority
backmark task list --priority high

# Filter by assignee
backmark task list --assignee Claude

# Multiple filters
backmark task list --status "To Do" \
  --priority high
AI Workflow
# AI planning
backmark task ai-plan 1 "Plan..."

# AI notes
backmark task ai-note 1 "Note..."

# AI documentation
backmark task ai-doc 1 "Docs..."

# AI review
backmark task ai-review 1 "Review..."
Acceptance Criteria
# Add a criterion
backmark task add-criterion 1 "Feature works"

# Check off a criterion (0-indexed)
backmark task check 1 0

# Uncheck a criterion
backmark task uncheck 1 0

# Validate before closing
backmark task ai-review-ready 1
Next Steps
Pro Tips
- 💡 Use
--helpwith any command to see all options:backmark task create --help - 💡 Enable indexing for better performance with 100+ tasks:
backmark config set performance.useIndex true - 💡 Customize board columns in
backlog/config.yml - 💡 Use templates for common task types:
backmark task create-from-template feature "New feature" - 💡 Tasks are just Markdown files - edit them directly with your favorite editor!
- 💡 Version control your
backlog/directory with Git for complete task history
Troubleshooting
Command not found: backmark
If you get "command not found" after global installation, check your npm global bin path:
npm config get prefixAdd the bin directory to your PATH, or use npx @grazulex/backmark instead.
Tasks not showing up
Make sure you're in a directory with an initialized BackMark project (contains backlog/ directory).
Need Help?
Report issues on GitHub or check the full commands reference.